Seedance App: Create, Edit and Extend Videos on Your Phone
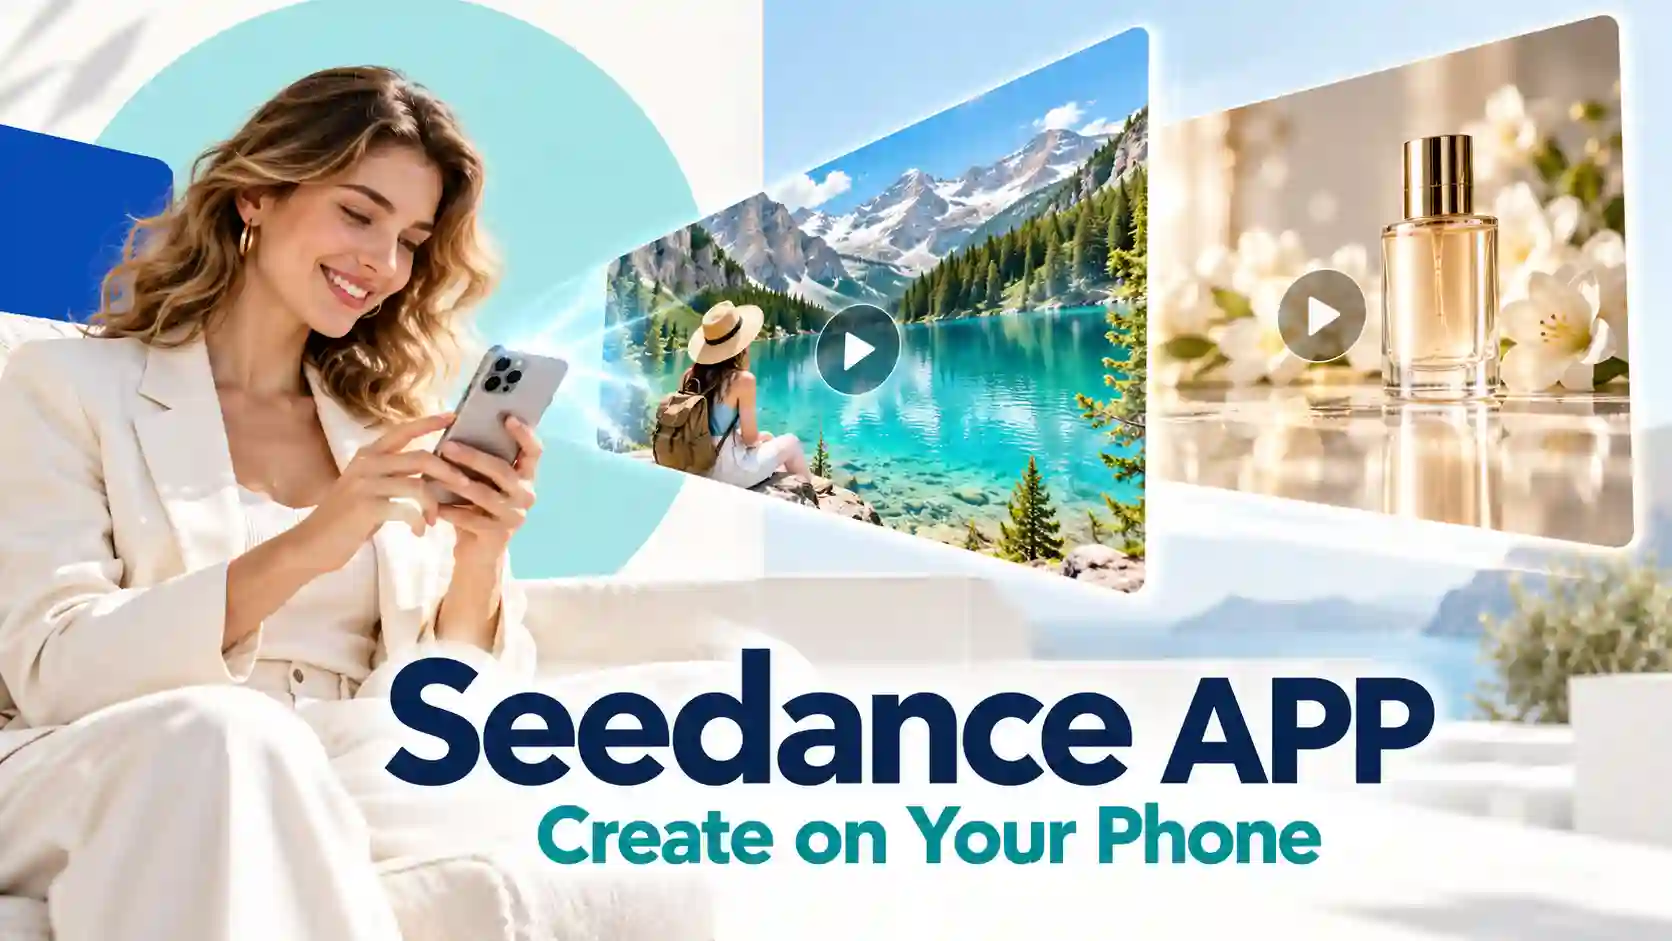
A photo in your camera roll, a scene you imagine, or a reference clip can become the starting point for your next video. The Seedance app for iPhone and Android brings these creative options to your phone, with access to Seedance 2.5 and earlier models such as Seedance 2.0.
Start with text or images, guide the result with reference files, and use supported editing and extension tools to develop a clip beyond its first draft.
What Can You Create with the Seedance App?
The Seedance mobile app supports three stages of video creation:
Stage | Tools | What they help you do |
Create | Text to Video & Image to Video | Turn an idea or photo into a moving scene |
Control | First and last frames & Reference to Video | Guide the beginning, ending, appearance, or movement |
Refine | Video editing and extension | Modify an existing clip or continue the scene |
Available features depend on the selected model. The mobile app follows the corresponding website model’s generation parameters, so choose the version that supports your task before preparing your files.
Start with a Prompt, a Photo, or Reference Files
Your starting material determines which creation mode makes the most sense.
Turn a Text Idea into a Video

Use text to video when you want to create a scene without uploading a photo. Describe the subject, action, setting, and camera movement.
For example:
A cyclist rides through a quiet coastal town at sunrise. Warm light falls across the buildings as the camera tracks alongside at a steady pace.
Keep your first attempt focused on one main action. A clear scene is easier to evaluate and refine than a prompt containing several locations, camera moves, and events.
Bring a Phone Photo to Life
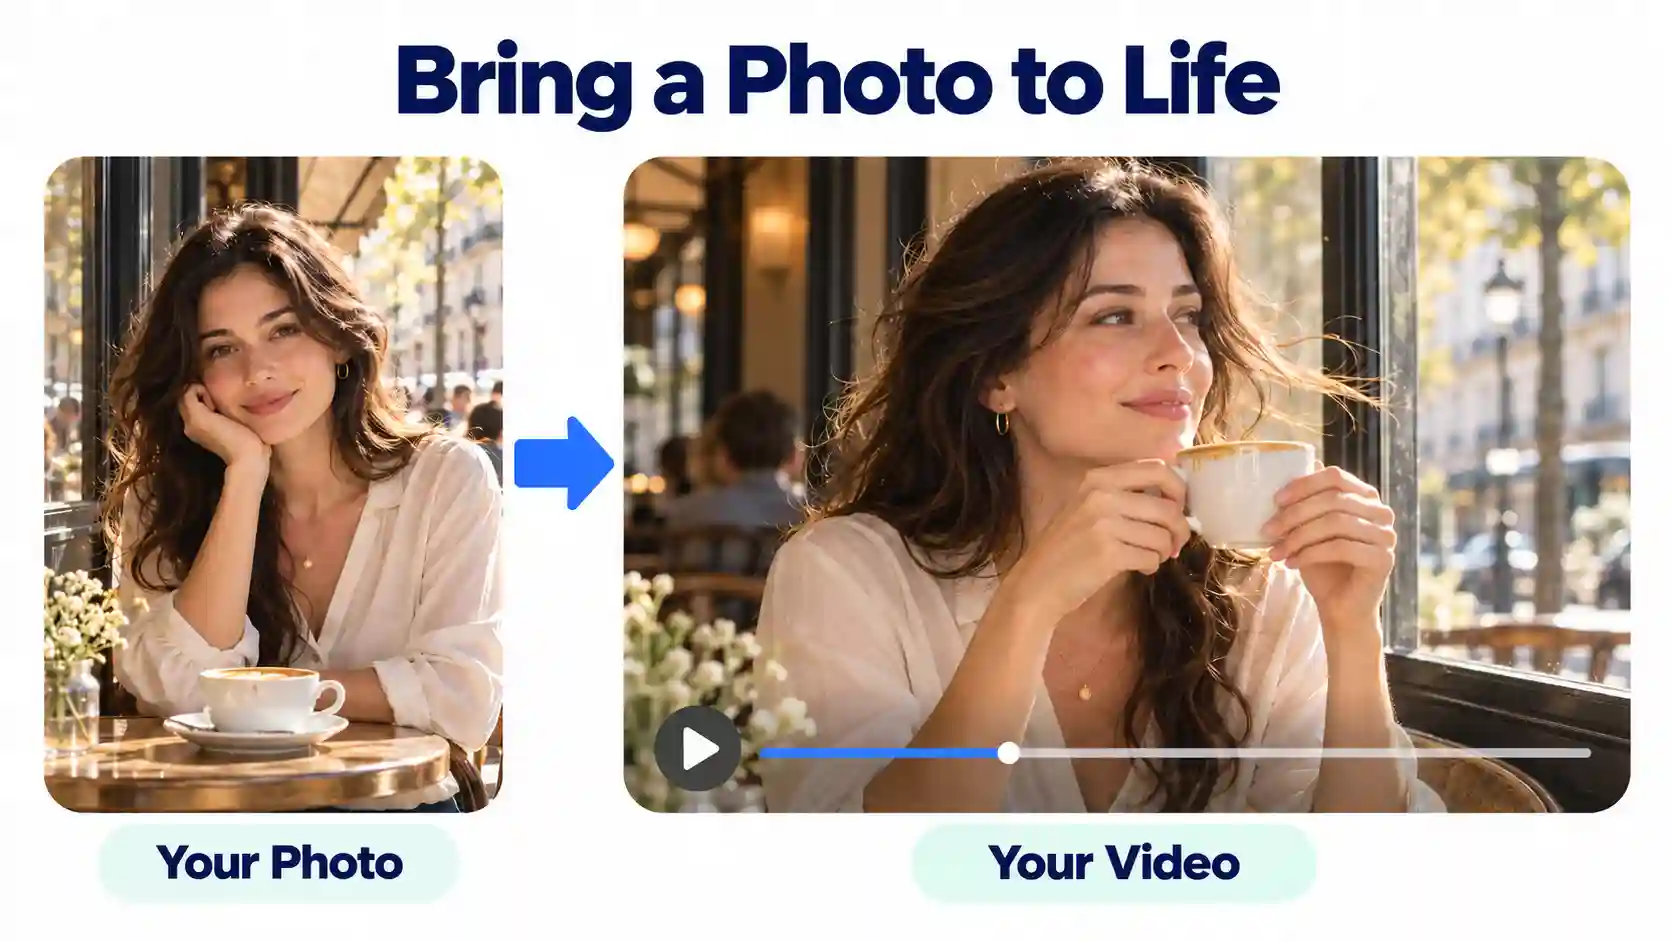
Use image to video when the subject or composition already exists. Travel photos, product shots, portraits, and illustrations can all provide a visual starting point.
Choose a clear image with enough room around the subject for movement. Then describe what should happen rather than repeating everything already visible.
For a café portrait:
She gently lifts her coffee cup and looks toward the window. Her hair moves slightly in the breeze. The camera slowly pushes closer.
To turn phone photos into AI videos, start with movement that suits the original pose and framing.
Give Each Reference a Clear Role
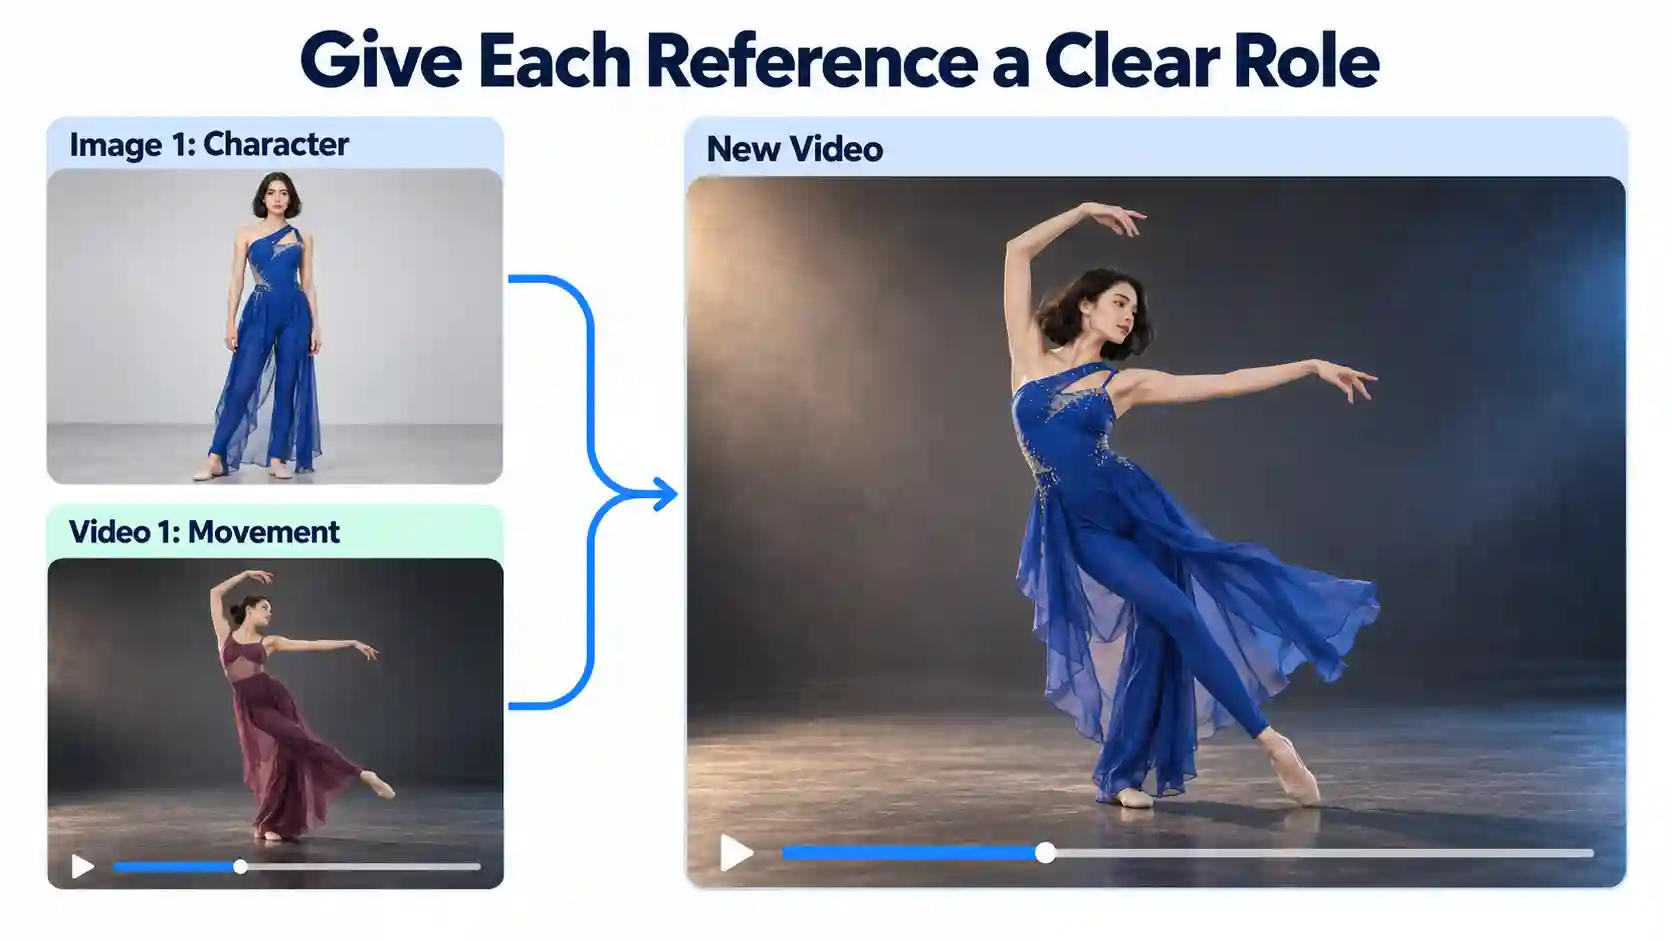
Reference-based generation helps when a single image cannot fully explain your idea. Assign a specific purpose to each file.
For example:
Use Image 1 for the character’s appearance and outfit. Use Video 1 as the movement reference. Place the character in a bright studio with soft daylight.
Explain what to borrow from each reference. Conflicting outfits, locations, or movement directions can make the intended result harder to interpret.
Guide the Transition with First and Last Frames
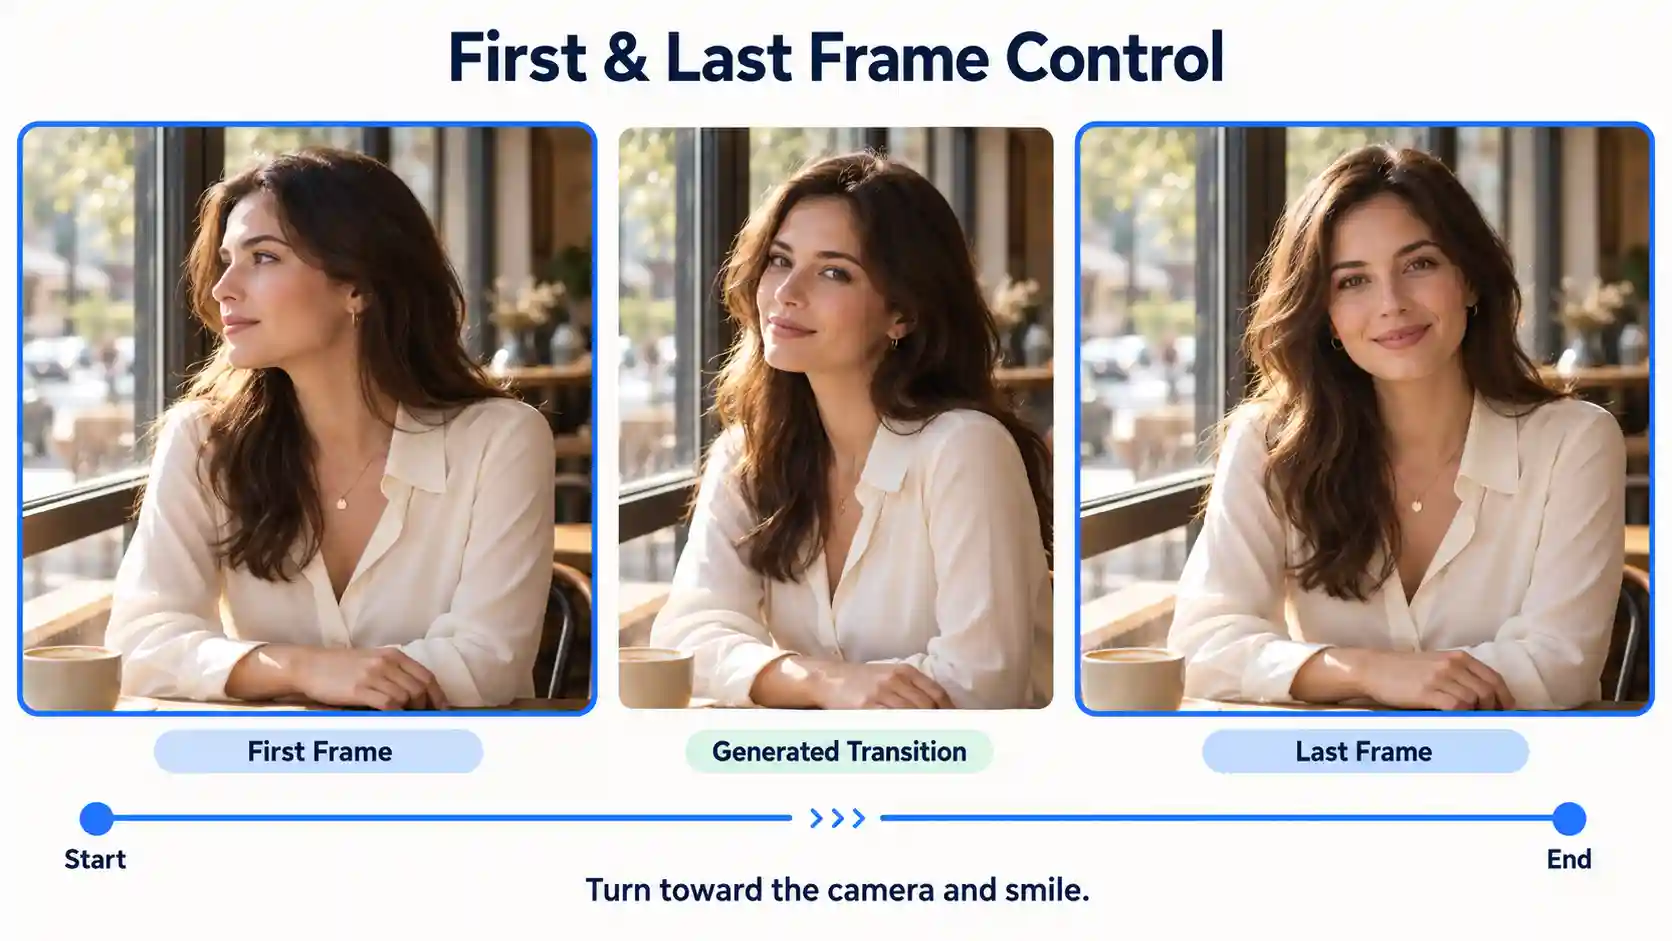
First and last frame control helps you define where a video begins and where it should end.
You might start with a character looking out of a window and finish with the same character facing the camera.
The prompt describes the transition:
The character slowly turns away from the window to face the camera, then gives a relaxed smile. Keep the lighting and camera position consistent.
For more coherent transitions:
Keep the subject consistent. Match clothing, product details, and recognizable features.
Make the change achievable. Avoid combining unrelated locations and poses in a short transition.
Describe the connecting action. Explain how the scene moves from the first image to the last.
Seedance first and last frame control provides visual direction; it does not specify every intermediate frame.
Review the movement between the endpoints as carefully as the opening and closing images.
Edit or Extend Your Video with Seedance 2.5
A useful first draft does not always need to be generated again. Seedance 2.5 video editing and extension offer two ways to continue working with an existing clip.
Edit When One Part Needs to Change
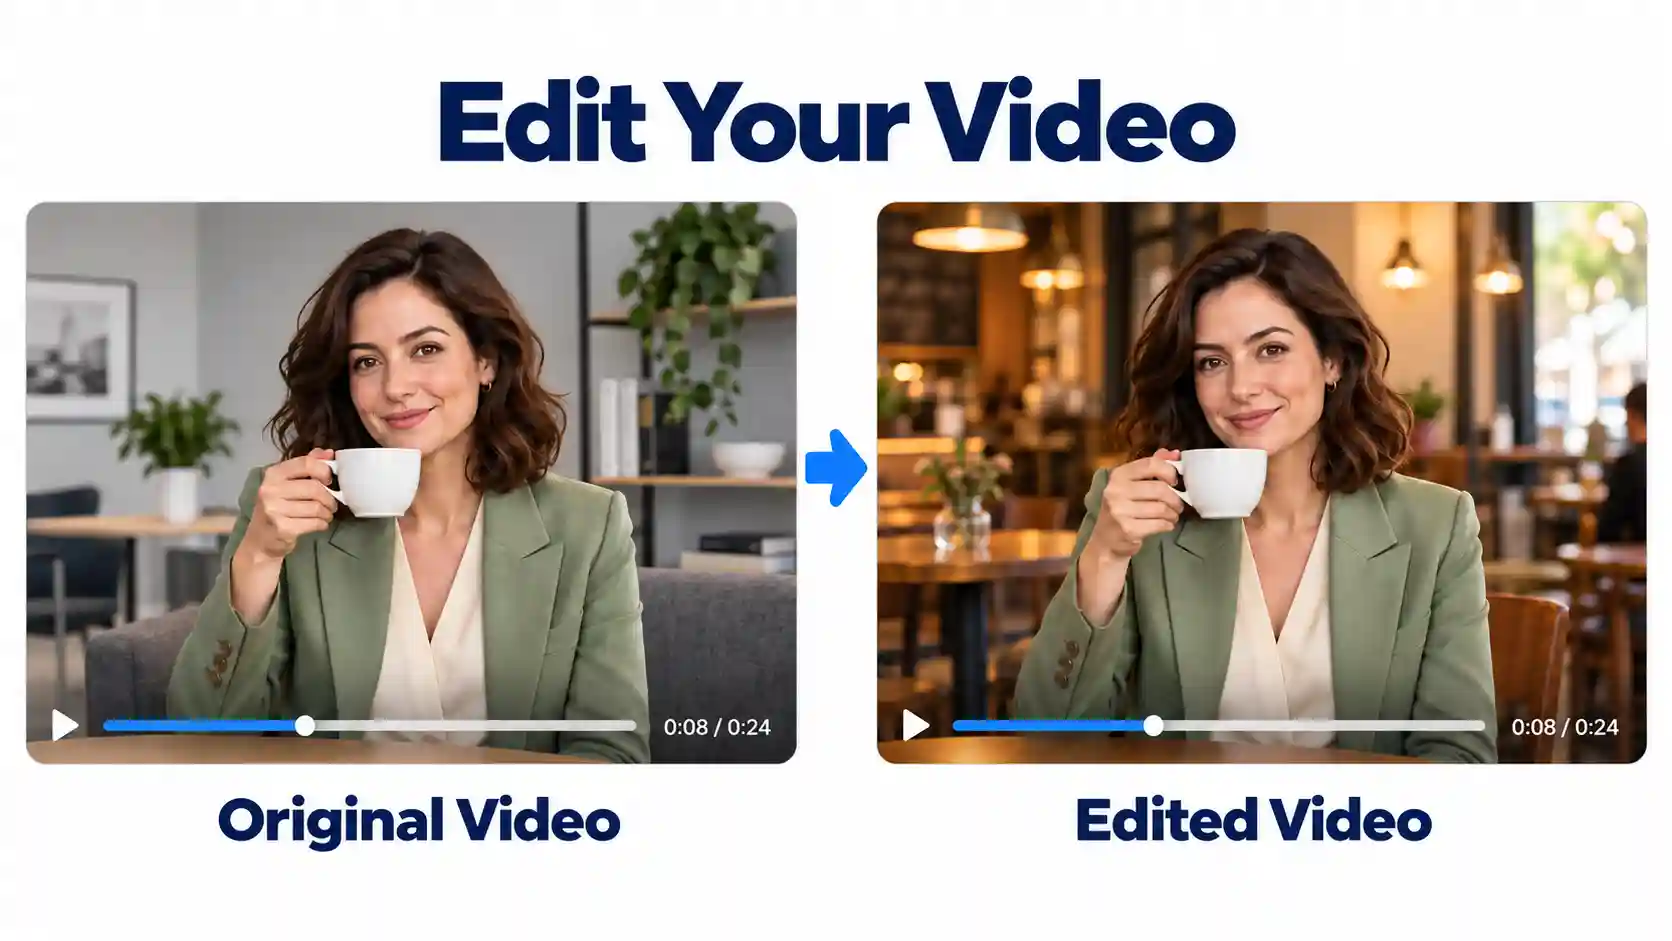
Use editing when the overall direction works but a particular element needs adjustment.
State both the requested change and the details you want to preserve.
For example:
Change the setting to a softly lit café. Keep the character’s appearance, outfit, and original movement consistent.
Focus on one main change at a time. This makes it easier to judge whether the edit improved the video and whether important details remained intact.
Treat the prompt as an instruction to test, then inspect the result for unintended changes to faces, objects, and motion.
Extend When the Scene Needs More Time
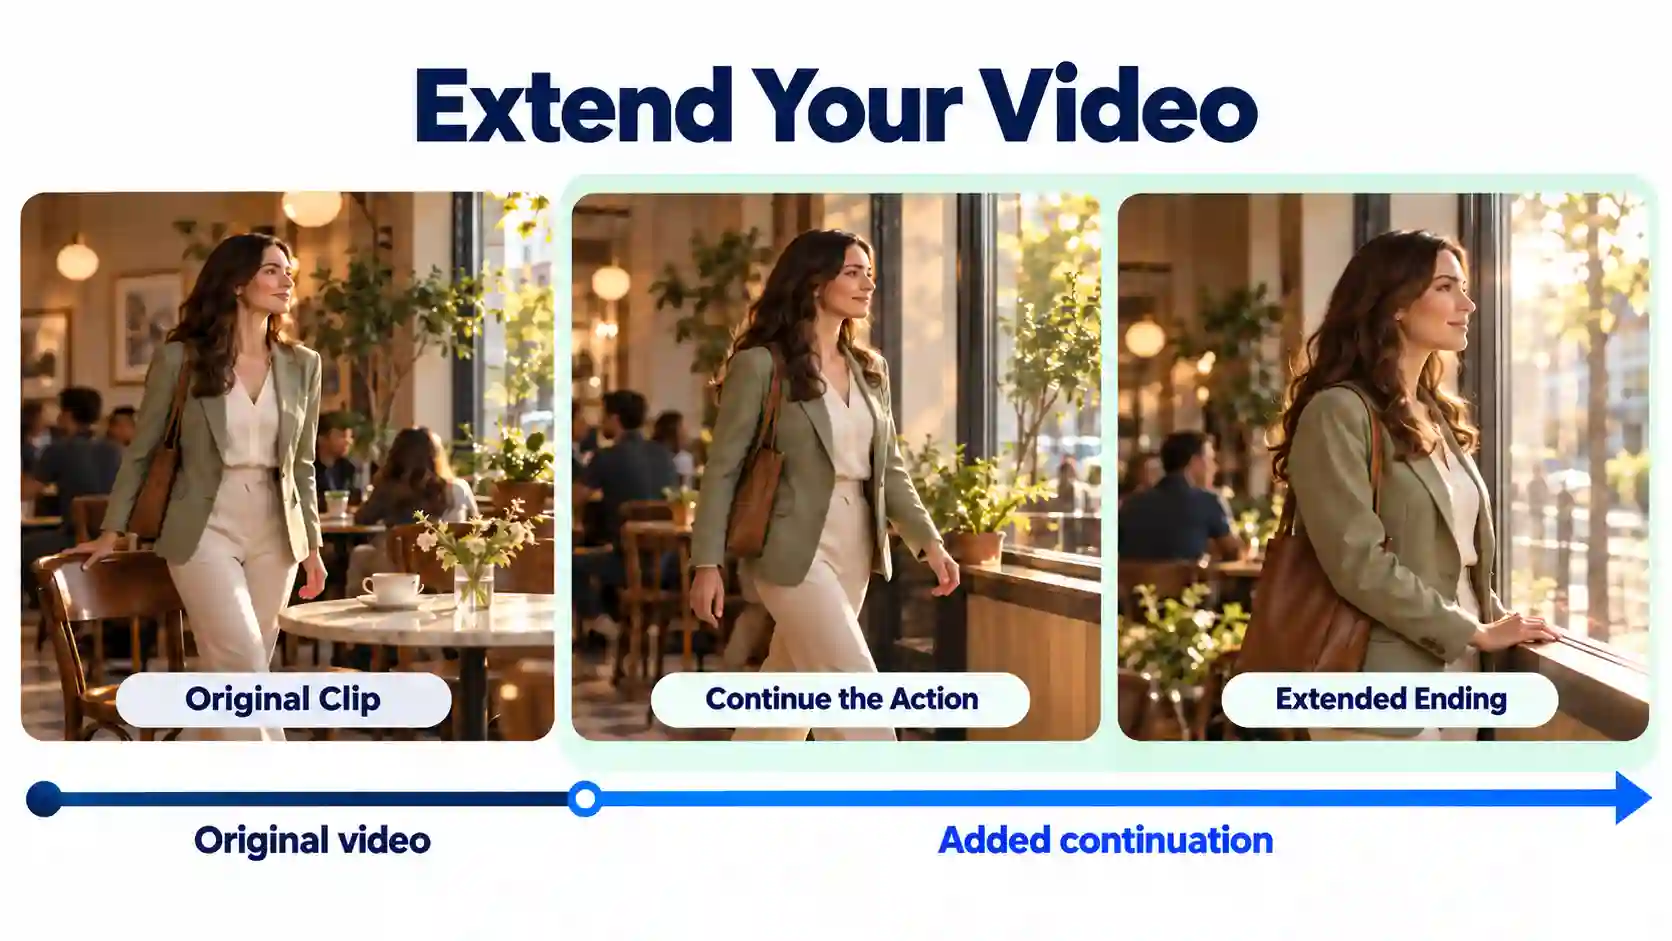
Use extension when you want an existing action or camera movement to continue.
For example:
Continue the scene as the character walks toward the window and pauses beside it. Maintain the warm afternoon light and the slow camera movement.
Describe what happens next, rather than restating the entire original scene.
Continuing the existing direction of movement can help the added footage feel more connected.
Check the join between the original and extended sections for changes in position, lighting, or pacing.
Edit a detail, extend an unfinished moment, or regenerate when the overall direction needs to change.
How to Use the Seedance App on iPhone and Android
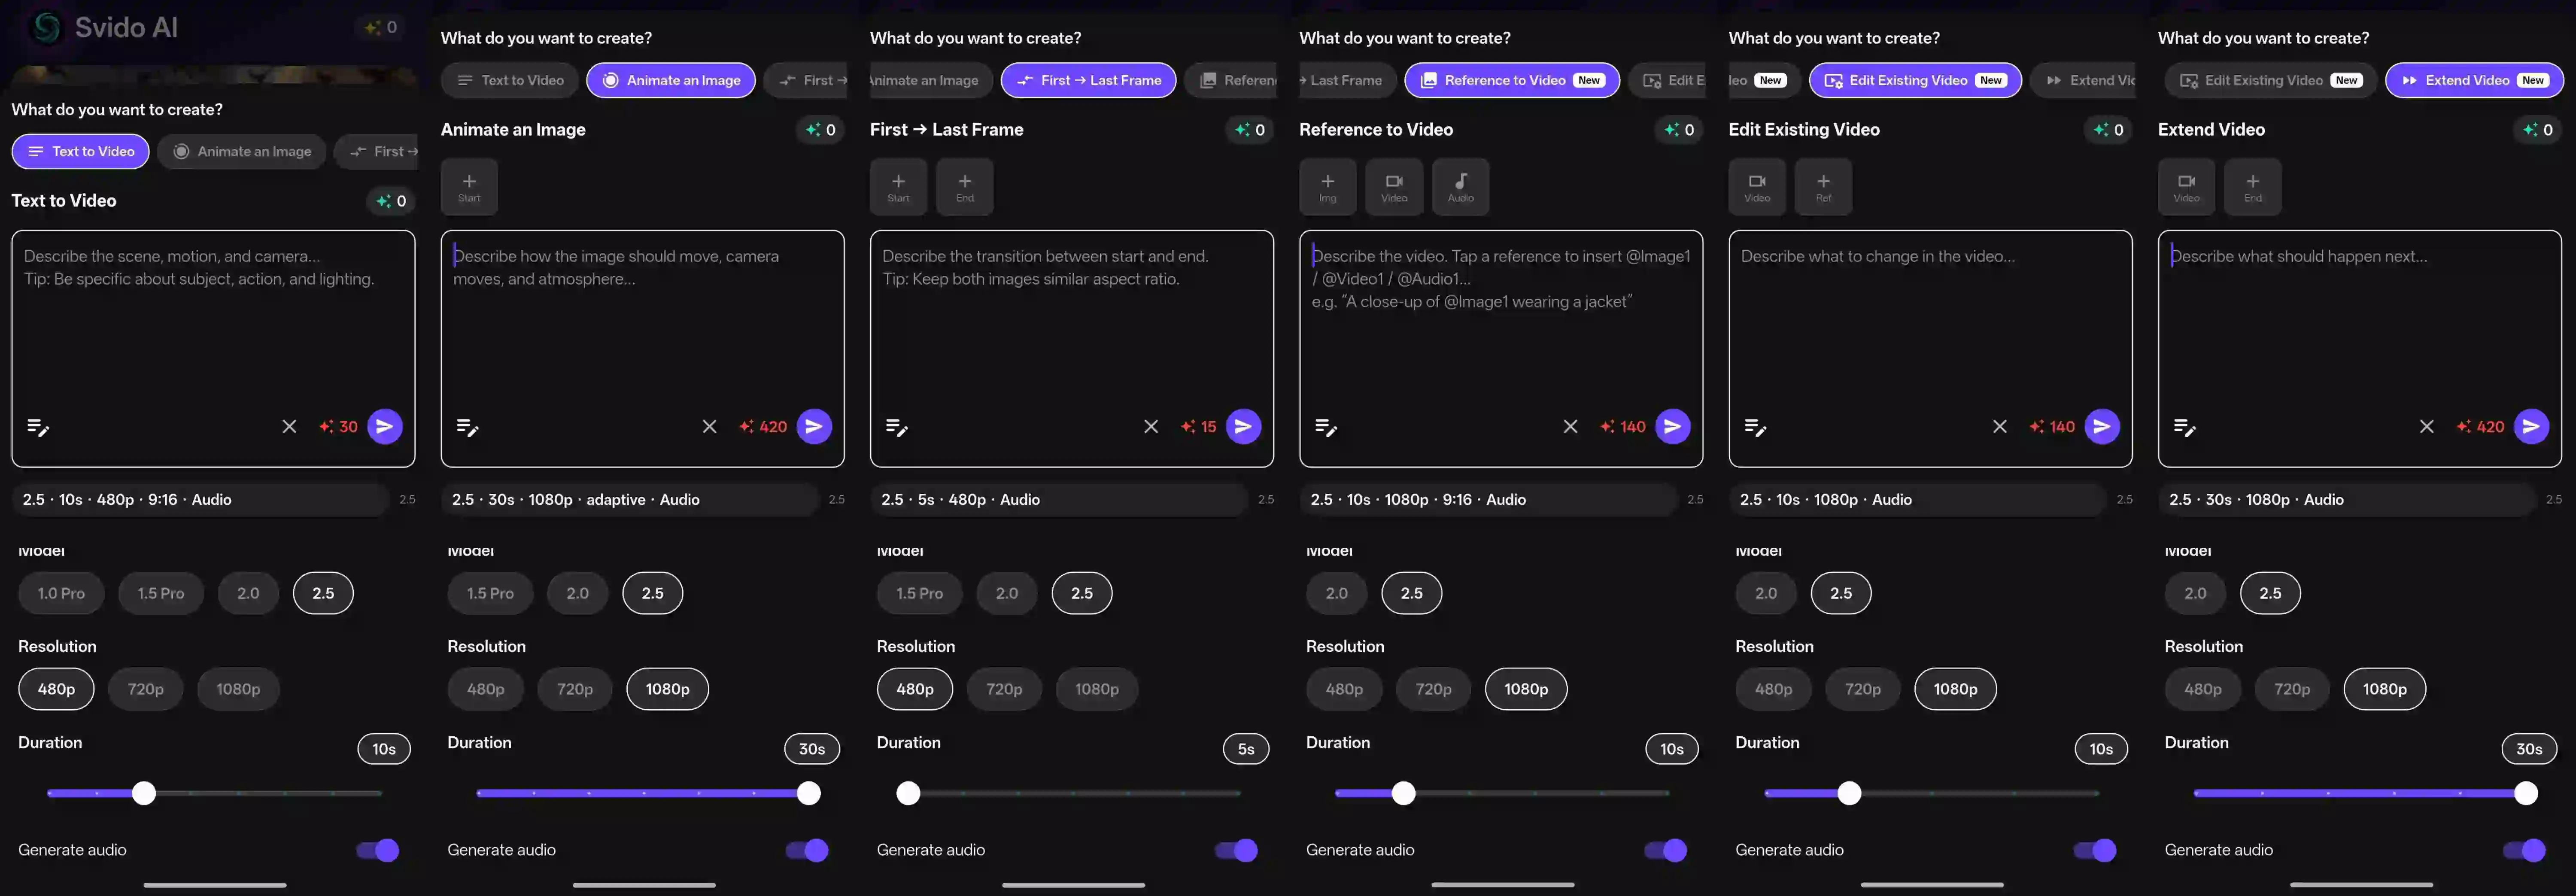
Follow these five steps to complete your first mobile video project.
1. Download the App
Open the Seedance app page and follow the link for your device.
2. Choose Your Model and Creation Mode
Choose the feature you need, then select a model that supports it.
For a photo animation, start with image to video. For modifying or continuing an existing clip, look for the relevant Seedance 2.5 editing or extension option.
3. Add Your Prompt and Media
Upload the required files and write a focused instruction:
For a photo, describe the movement.
For references, explain each file’s role.
For editing, specify what changes and what stays.
For extension, describe the next action.
4. Set the Output for Your Project
Select the available aspect ratio, duration, and resolution that suit your intended use.
Vertical framing suits many Reels and Shorts projects, while a wider composition may work better for landscapes or presentations.
Check the displayed generation cost before submitting.
5. Review, Refine, and Save
Watch the full result. Check the subject’s appearance, movement, framing, and ending.
If one issue stands out, make a targeted adjustment. Once the clip works for your project, save it for publishing or further editing.
Four Practical Projects to Try on Your Phone
Start with a small, clearly defined deliverable. These projects connect mobile video creation to everyday content needs.
Social Video Openers
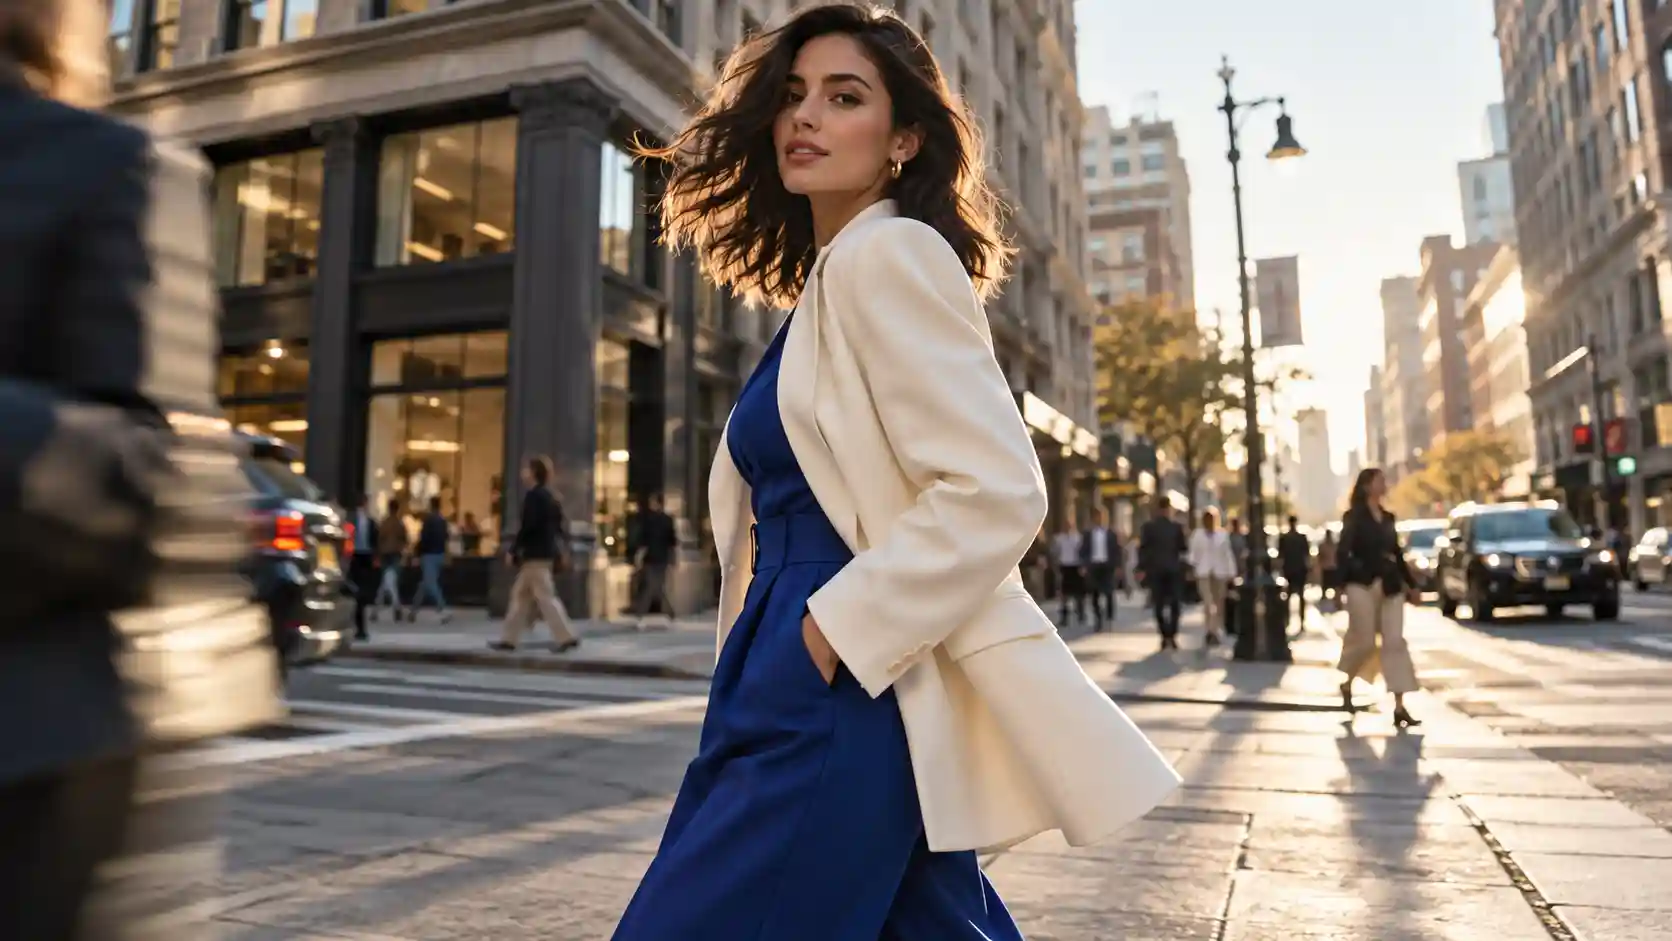
Create an opening shot or transition for Instagram Reels, TikTok, or YouTube Shorts. A striking scene can introduce a topic before your main footage begins.
Try this: Describe one immediately readable action and keep the important subject within the intended vertical frame. Leave space if you plan to add a headline afterward.
Travel and Lifestyle Clips

Turn a mountain view, rainy street, or café photo into a short atmospheric scene.
Try this: Combine one environmental movement with one gentle camera move—for example, drifting clouds and a slow push toward the mountains. Keep the motion consistent with the mood of the photo.
Product Videos for Small Businesses

Use a clear product photo to develop a display shot for a launch, promotion, or social post.
Try this: Highlight one feature through lighting or camera movement. For a skincare bottle, a gradual close-up can emphasize the glass and reflections. Inspect labels, edges, and small structural details before using the clip.
Character and Illustration Animation

Give a character design a short performance: a wave, a turn, or a few steps through a scene.
Try this: Begin with a simple movement that makes the character’s personality visible. Check distinctive features and clothing throughout the clip before attempting more complex action.
Choose the Seedance Version That Fits Your Task
The Seedance app includes Seedance 2.5, Seedance 2.0, and other available versions, giving you different options within one mobile workflow.
Choose according to three practical questions:
Does it support the feature you need? Check generation, reference, editing, and extension capabilities.
Do its available settings fit the project? Review input requirements, duration, resolution, and aspect ratio.
Does the displayed cost suit your budget? Evaluate the settings for the actual task.
Use the corresponding model pages for detailed specifications: Seedance 2.5 and Seedance 2.0.
Start with One Idea on Your Phone
Choose a photo, describe a scene, or upload a reference.
Build a first clip, review what works, and use the appropriate controls to refine it.
With the Seedance mobile app, you can explore that process on iPhone or Android, from the first idea to an edited or extended video.
Get Seedance Generator on Your Phone
Seedance Mobile APP FAQs
Where can I download the Seedance app for iPhone or Android?
Visit the app download page and select the App Store or Google Play link for your device.
Can I create a video without uploading a photo?
Yes. Choose a supported text-to-video mode and describe the scene you want to generate. Images are useful when you already have a specific subject or composition to preserve.
Does every Seedance model support the same features?
No. Features and output options vary by version. Check the selected model before preparing reference files or planning an editing task.
Does the mobile app offer the same generation parameters as the website?
Yes. The app follows the corresponding website model’s functional parameters. Compare the same model and mode when checking available settings.
Should I prepare vertical images for Reels and Shorts?
Matching your source image to the intended output can reduce unwanted cropping. Keep faces, products, and important actions away from the edges.
Can I create separate clips for a longer video?
Yes. Plan each clip around one action or story beat, then assemble your chosen results in your preferred video editor. Keep references and visual descriptions consistent across related shots.
Related Articles
5 AI Halloween Video Ideas to Try with Seedance 2.5
Explore five AI Halloween video ideas with Seedance 2.5, from funny greetings and costume transitions to witch projections and living portraits.
How to Make Your Own Hotel Lobby AI Video with Seedance 2.5
Learn how to make your own Hotel Lobby AI video with Seedance 2.5, plan character and motion references, and explore five creative duo ideas.